If you’re a car enthusiast, you know how important it is to keep your vehicle looking good. But keeping up with the wear and tear of everyday use can be expensive.
That’s why DIY paint correction for beginners is such an attractive option. It’s a great way to save money and still get impressive results on your vehicle’s exterior. With the right know-how, you can make sure your car looks its best without breaking the bank.
In this guide, we’ll show you how to do just that.
1. Gather The Necessary Supplies
Gathering the necessary supplies for DIY paint correction can be overwhelming. It’s important to make sure you have all the products you need before starting, so take your time shopping around.
You’ll need a few polishing products, such as rubbing compound and wax, plus either a polisher or buffer that fits your budget and needs. Painter’s tape is also essential for protecting any adjacent surfaces from the product residue.
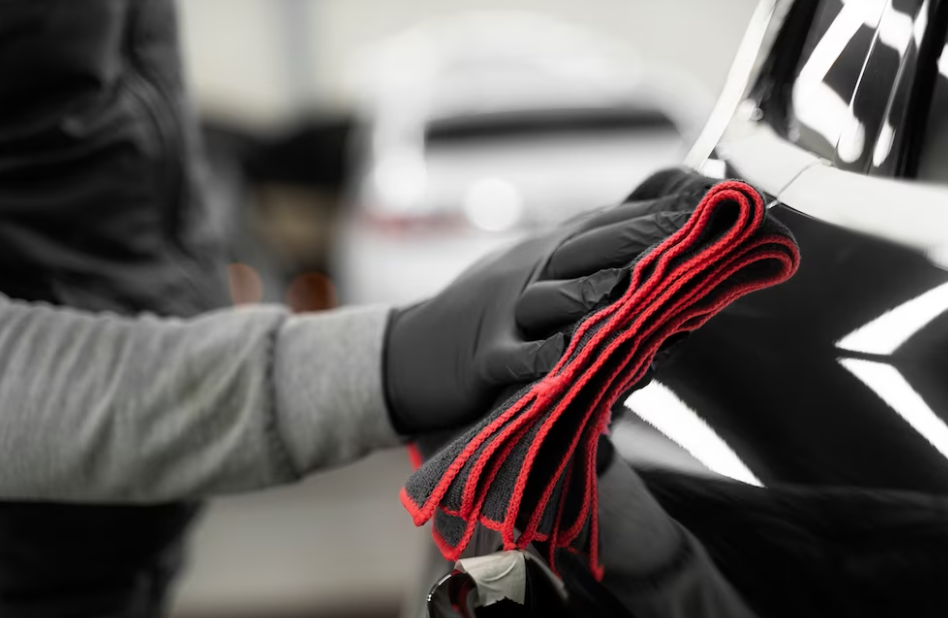
You’ll also need some basic tools like rags and towels, plus some microfiber cloths for wiping down after you’re done. Don’t forget to pick up a spray bottle to mist water while working on the car exterior.
Having all these items on hand will help make your DIY paint correction project run more smoothly. Now that you have all the necessary supplies, it’s time to learn about your paint type and begin prepping your car for correction.
2. Understand Your Paint Type
Now that you have all the necessary supplies for a DIY paint correction, it’s time to understand your paint type and determine how much care and protection it needs.
The type of paint on your vehicle will determine what kind of products you use and how much elbow grease is required to get a great finish.
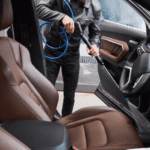
Start by washing the car with a gentle soap and water mixture, then dry it off with a microfiber cloth.
Once the car is clean, identify the type of paint used in your vehicle’s manufacturer – this will typically be listed in the owner’s manual.
Different types of paints require different levels of care when it comes to polishing, so knowing what you’re working with is essential for getting great results.
Understanding your paint type also helps when selecting products like waxes or sealants.
Finding ones specifically designed for your car’s specific paint will help ensure long-lasting protection while keeping its shine and luster over time.
Now that you know what kind of care and protection your vehicle needs, it’s time to prepare the vehicle for correction.
3. Prepare The Vehicle For Correction
Before beginning the correction process, it is important to prepare the vehicle by preparing the surface and protecting it from potential damage.
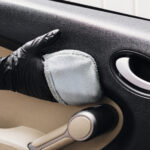
The first step to take is to use a clay bar to remove any bonded contaminants that may be on the surface of your car’s paint. This can be done by lightly gliding a clay bar over the surface in a back and forth motion until you feel the resistance of dirt and grime being removed. Once complete, use a microfiber towel to wipe away any residue left behind.
Once this step is complete, you’ll want to protect the paint from potential damages while you’re working on correcting it. This can be done by using a wax or sealant that will act as an invisible barrier against water, dust, and dirt. Apply a generous amount of product across your car’s paintwork for maximum protection and allow it to cure for at least 30 minutes before continuing with corrections.
Now that your vehicle is prepared, it’s time to move on to executing the correction process. This involves polishing out imperfections such as swirl marks and scratches with specialized tools and compounds designed specifically for this job. Be sure to wear appropriate safety gear such as protective eyewear when doing so.
Transitioning into this next section will require some research into which products are best suited for your particular needs.
4. Execute The Correction Process
Now that the vehicle is prepared, it is time to begin the correction process.
Many correcting techniques can be used when performing a DIY paint correction. These include polishing and buffing with cutting compounds, waxing and sealing with protective products, and applying coatings to protect your paint job.
Preparing a vehicle for DIY paint correction requires a lot of patience, as each step must be done correctly in order to achieve the desired results.
When executing the correction process, it is important to use high-quality products from trusted brands.
Start by cleaning the surface of the car with an all-purpose cleaner or degreaser.
Once the surface of the car is clean and dry, you should apply cutting compounds to remove swirls and scratches from your paint job.
Use circular motions and start off with light pressure, increasing pressure gradually until you achieve desired results.
After you have finished buffing out scratches and swirls from your vehicle’s paint job, you should use waxes or sealant products to add shine and protect your vehicle’s finish.
Waxes provide excellent protection against UV rays while sealants provide added durability against water spots or staining caused by bird droppings or bug splatter on the exterior of your car.
With these finishing touches in place, you can ensure that your vehicle looks great for years to come with regular maintenance such as washing and waxing on a regular basis.
5. Finishing Touches And Maintenance
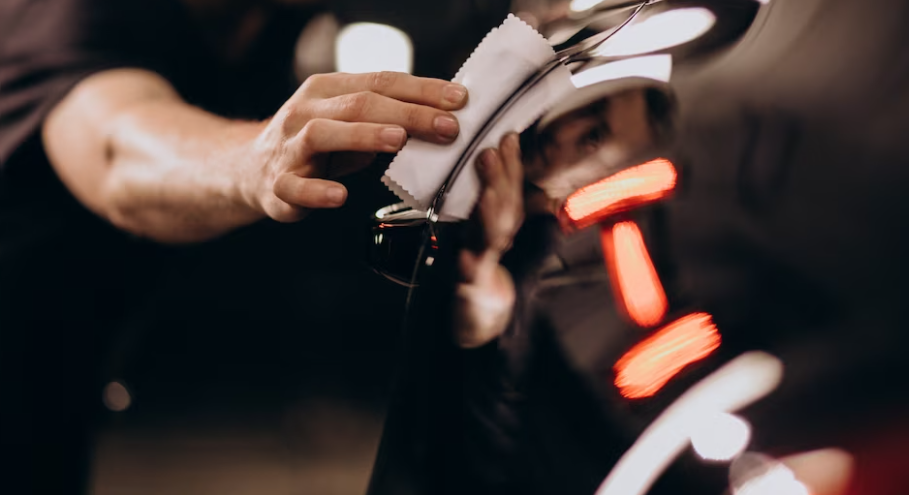
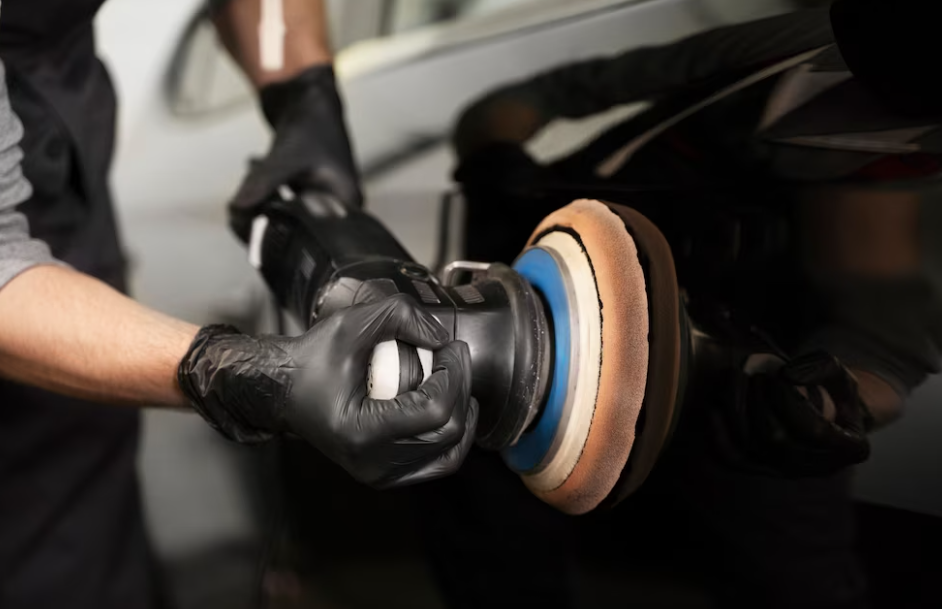
Now that you’ve finished the bulk of the work, it’s time to put on the finishing touches. This involves polishing and waxing your vehicle to give it a perfect shine and apply a protective layer of paint protection. Doing this will help keep your car looking as good as new for years to come.
Polishing is an important part of the finishing process, as it helps remove any remaining swirl marks or blemishes in the paintwork while also giving it a beautiful glossy finish. You can use either a dual-action polisher or a hand-held rotary polisher depending on your preference and skill level.
When applying polish, make sure to use slow overlapping passes with light pressure and be sure to wipe off any excess residue when you are done.
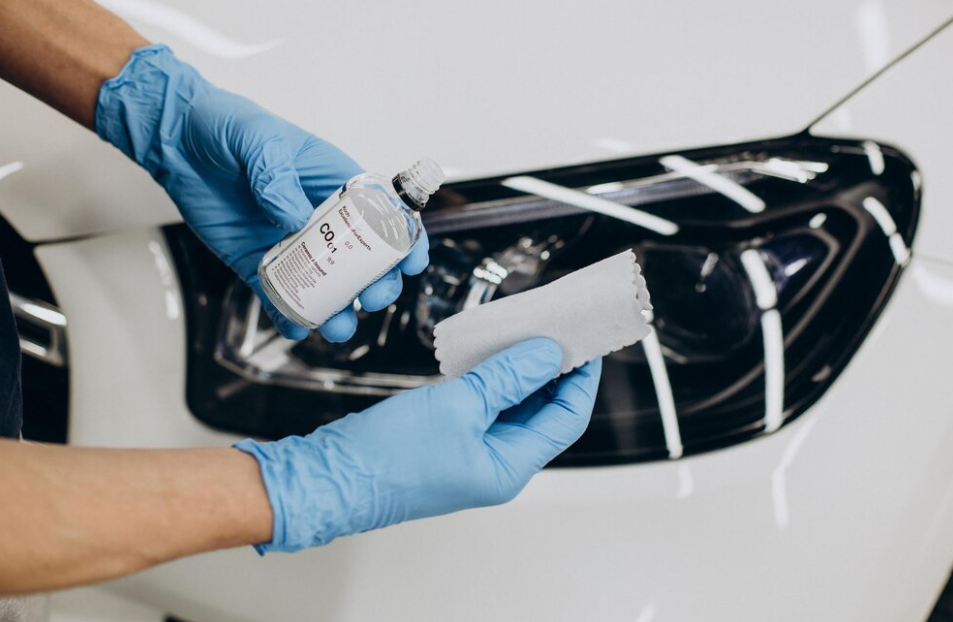
The last step is applying wax or sealant, which adds an additional layer of protection against dirt, dust, UV rays and other contaminants that could damage your paintwork over time. It also enhances the shine of your vehicle and keeps it looking showroom fresh for longer periods of time.
To apply wax or sealant correctly, make sure to choose one that is suitable for your car’s paint type and follow the manufacturer’s instructions for best results. With these simple steps you can easily maintain a high-gloss finish on your vehicle for years to come!
Frequently Asked Questions
What Type Of Environment Is Best For Paint Correction?
When considering the best environment for paint correction, sandpaper selection and polish selection are key.
It is important to choose a dry, shaded area and a dust-free surface to prevent dirt from getting into the paint.
Furthermore, sandpaper grit should be chosen based on the project at hand – if you’re dealing with larger blemishes and scratches, opt for a coarser grit; for minor defects, try finer sandpaper.
Finally, select a car polish that works best for your vehicle; it should be able to remove any contaminants left behind by the sandpaper without damaging the paint.
How Do I Identify What Type Of Paint Is On My Car?
Identifying what type of paint is on your car is an important step when evaluating your vehicle’s surface before any paint correction. It requires a detailed surface preparation process to ensure that the correct products are used to correct the paint.
You may need to consult a professional or do research online to determine the type of paint that is on your car. Many manufacturers indicate the type of paint in the owner’s manual, but if you’re not sure, there are other methods such as looking up the make and model of your car online or using a specialized test kit available at automotive stores.
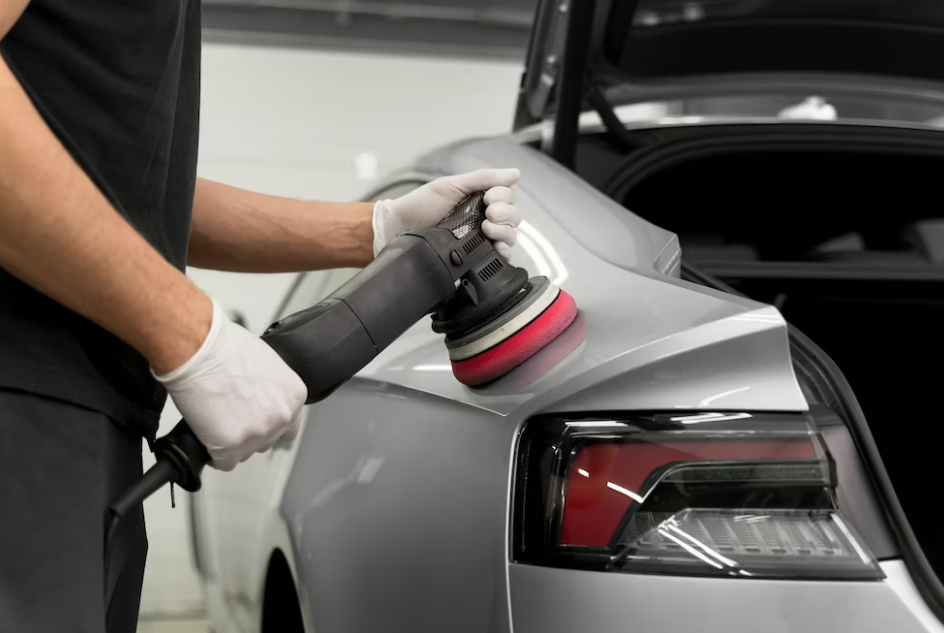
Is It Safe To Use A Buffer Machine On My Car’s Paint?
Using a buffer machine on your car’s paint is safe, as long as you are careful and take the necessary precautions.
It is important to understand the basics of machine maintenance and polishing techniques in order to avoid any potential damage that may occur if done incorrectly.
Make sure to read up on the proper instructions for using a buffer machine before attempting this DIY paint correction project.
What Is The Best Way To Protect My Car’s Paint After Correction?
Polishing techniques and buffer safety are two of the most important things to consider when protecting your car’s paint after correction.
To protect your car’s paint, use a high-grade polish designed for cars and a quality dual-action polisher or buffer. For best results, use the polisher with care and never apply too much pressure.
After polishing, you should apply a layer of wax or sealant to help protect the paint from UV rays and dirt. To prevent scratches or swirls, always wash your car by hand with a non-abrasive cloth and mild detergent.
Finally, be sure to regularly coat your car in wax or sealant to keep it looking shiny and new!
How Long Does The Paint Correction Process Take?
The process of paint correction can take anywhere from a few hours to a couple of days, depending on the polishing technique and the type of paint products used.
It’s important to take into account the severity of the damage and the amount of time you’re willing to invest in getting your car back to its original condition.
That being said, it’s typically best to give yourself plenty of time in order to achieve a satisfactory result.
Conclusion
Paint correction is a great way to restore your car’s paint and make it look like new. It may seem daunting at first, but with some patience and the right tools, you can do it yourself.
When completing the process, it’s important to take precautions for your safety and for the protection of your car’s paint job. With the right environment, knowledge of what type of paint is on your car, safe use of a buffer machine and proper protection after the process is complete, you can achieve excellent results.
Keep in mind that this can be time consuming so give yourself plenty of time to get the job done!